I recently installed an IQ Panel 2 security system in my apartment, my husband Stephen and I love it! It’s comforting to know that our belongings are staying safe while we’re away at work or on vacation and we’re safe while home. Stephen and I decided that because we are renting, the table stand was the best option for us. I also decided to set the security system up by myself, to better understand the full installation process.
The IQ Panel 2 Classic Kit comes with an IQ Panel 2, 3 IQ DW Mini-S Sensors, and 1 IQ Motion-S sensor. In addition to the panel and sensors, it also comes with an IQ Panel 2 Quick Guide which was a game changer! There are only 10 simple steps required to fully set up the IQ Panel and the quick guide takes you step-by-step through this process. In addition to the quick guide, I also pulled up the Qolsys YouTube page and watched the table stand installation video. This was another great recourse to make sure I was setting up my security system correctly.
Installing a security system by yourself can be intimidating, especially for the first time. The best thing about the IQ Panel 2 is that the process is so easy! I had my system set up, sensors paired, and put in place on the front door and windows in no time! Again, we’ve loved our IQ Panel 2 security system, how it looks in our home, and the additional protection it adds.
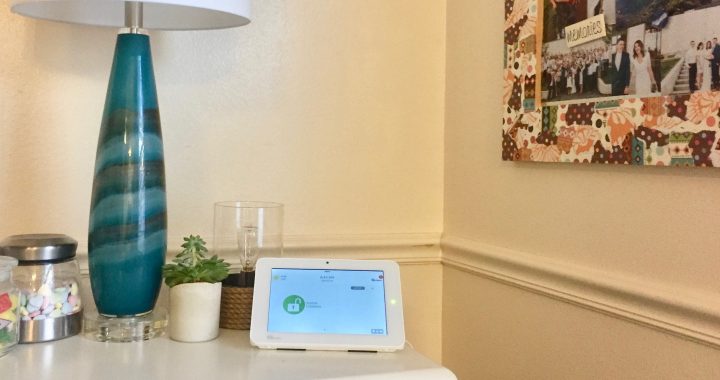
IQ Panel 2: Table Stand
IQ Panel 2 Quick Guide Instructions:
- Connect power supply
- WARNING: Use 5.5v Power Supply ONLY
- Press and hold the power button on the right side of the panel for 3 seconds to power up
- Create Alarm.com account
- Try the mobile tech app
- Access Advanced Settings
- Advanced (Default installer password is 1111)
- Run a Cell Test
- Connect Wifi
- Check for Updates
- Install Devices
- Add Security Sensors
- If pairing devices with encryption, be sure to select “S-Line” as the “Source” of the signals
- Add Z-Wave Devices